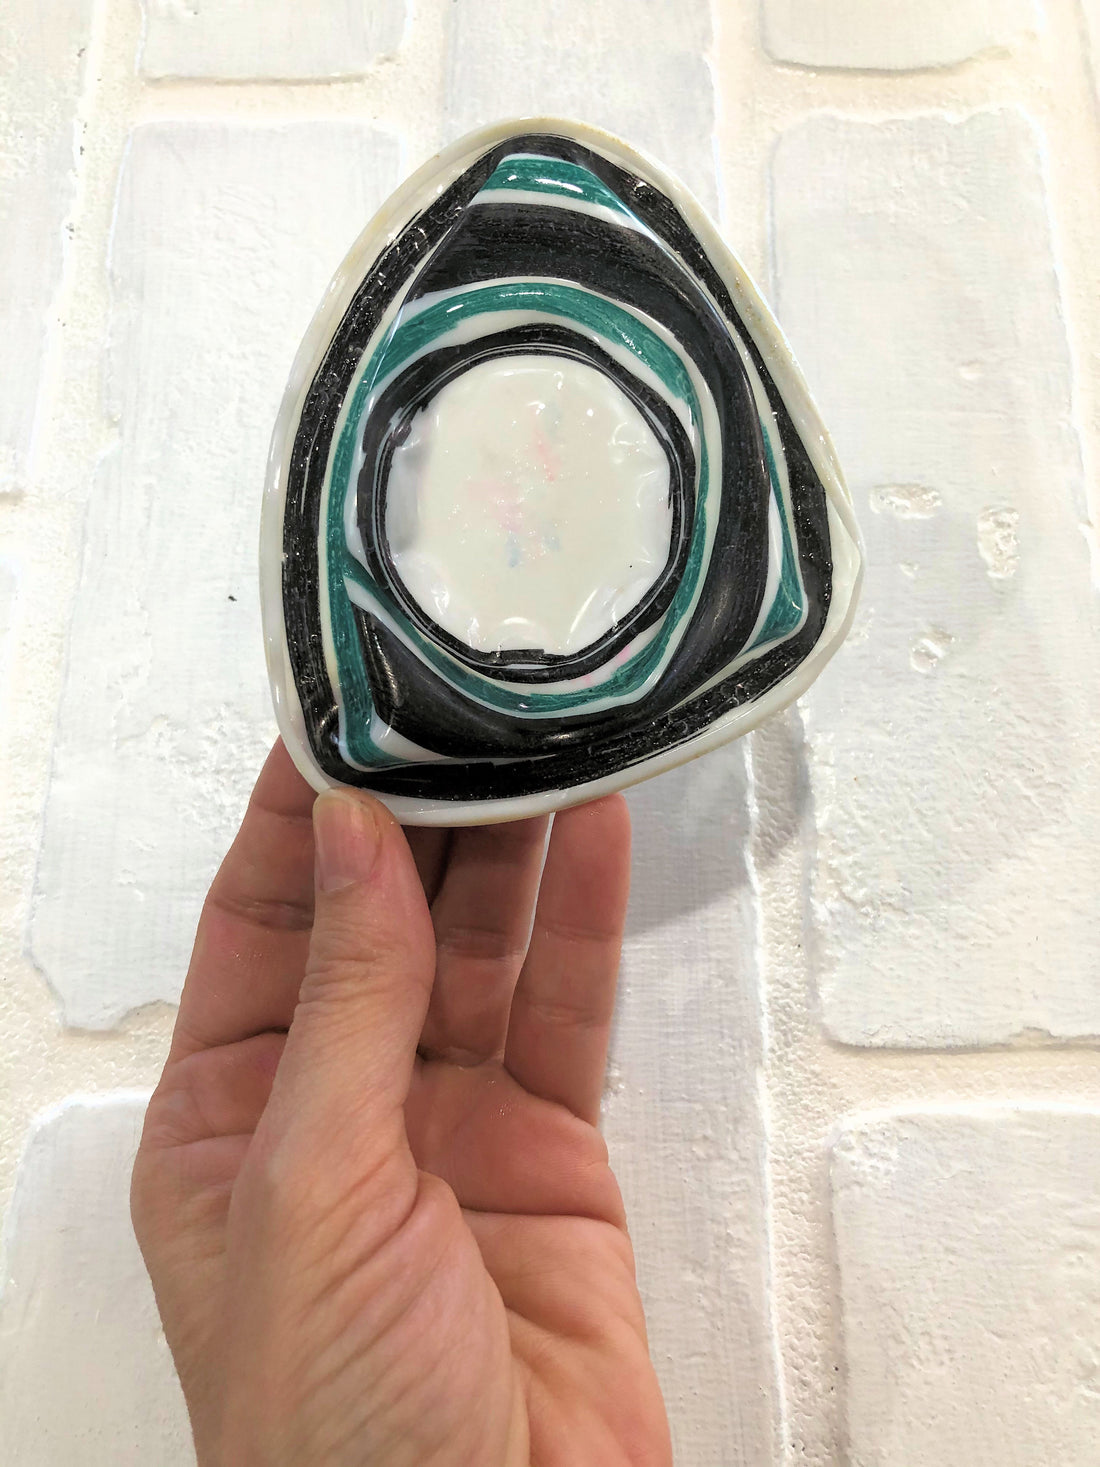
Kandinsky's Concentric Circles - Art Lesson for Kids
Share
Last week I shared my first art lesson for kids to help all of you who are teaming up with your school to educate your children from home, and I received so much positive feed back from you. Upon request, I have put together another lesson for you inspired by the modernist artist Kandinsky.
When I saw this craft idea on Pinterest, I immediately thought how perfect this fit in with Kandinsky's well known painting, Concentric Circles, and how fun littles would have making them. I did not demonstrate variations of this lesson to fit a range of ages, but no worries because this lesson is fun for the entire family (I mean, I had a lot of fun doing it).

(Image from https://www.wassilykandinsky.net)
Art History: Who was Wassily Kandinsky?
Kandinsky was born in 1866 and died in 1944.
As a child living in Russia, Kandinsky studied music and art, but he didn't concentrate on art until his 30's. He did not follow a realistic approach in his work, but rather became the first artist to paint completely abstract. He believed color and design connected with people's emotions just as much as words could, and his musical background inspired his work. You could say he painted music.
Vocabulary:
Abstract art - does not represent any particular subject realistically, but rather uses color, shape, gestures, marks.
Realism - painting a subject just as it is seen.

Elements of Art in this lesson:
Color...
Primary Colors = Red, Yellow, Blue (these colors can not be made by mixing other colors)
Secondary Colors = Orange, Green, Purple (these colors are made when mixing two primary colors together)
Warm colors = red, orange, yellow
Cool colors = blue, green, purple
Complementary colors - colors that are across from each other on the color wheel. These colors look the most vibrant when beside their complementary.
Purple and Yellow, Blue and Orange, Red and Green
Shape...
Geometric shape - regular in form such as that found in math
Organic shape - irregular in form such as that found in nature.
Have your child think of different shapes that fit these categories.
Line...
A line is a mark that has length and width. a line has many characteristics, such as straight, curvy, zig zag, spiral, etc. Ask your child to identify different lines they see around them.
Principals of Design:
Repetition / Pattern / Rhythm
The repeating of lines or shapes in a specific order can create pattern which also creates rhythm.

Supplies:
Clear plastic solo cups
Permanent markers such as sharpe
aluminum foil
non stick cooking spray
baking sheet
oven
Directions:
1. Pre heat oven to 350
2. Use the permanent markers to color several stripes around the plastic cup. Use various thickness of lines for more variety.
3. Place cup bottoms up on a cookie sheet that has been lined with foil and sprayed with non stick cooking spray.
4. Place in oven.
5. after about 20 - 30 seconds, use a metal spoon to flatten the cup by pressing gently on the center of the bottom of the cup (unpainted areas of the cup should still be clear, but pliable. If the unpainted sections have turned white, the cup will no longer melt or flatten.)
6. Once the clear parts of the cup is completely white, remove from oven and cool.
7. wipe cooking spray residue from back of melted cup.

Optional:
use a hole puncher while cup is still warm to punch a hole so you can hang with string/twine.
attach multiple cup designs to painted or stained wood panel to mimic Kandinsky's Concentric Circle painting.
There was a little trial and error when creating this lesson, and here are a few tips...
1. Any clear areas of the cup will turn white when melted so If you want white stripes, leave the cup uncolored in those areas. Colored areas can rub off before melting in oven so careful when touching.
2. Cups MUST be placed bottoms up on cookie sheet.
3. Stay close to the oven so that as soon as the cup softens you can flatten it. This process goes quicker than you think, and if you are late flattening it, then it may not flatten completely.
4. do not get cooking spray on the colored areas because it appeared to hinder the color from setting in.
As always, if you try this lesson, please let me know how you liked it and how your child liked it. Your comments mean so much to me, and provides me with the motivation to continue providing helpful content such as this.
Happy Creating!
