One Point Perspective Trees
Share
One Point Perspective Trees | Art Lesson for Kids | Beverly Gurganus Fine Art
Perspective, whether an idea or physical object, is the way we view something. It helps us to understand that idea or the subject in relation to its context or environment.
Can you create art without using the right perspective? Yes, you can, but an art professor once told me that you need to learn the rules before you can break them; therefore, I always begin a drawing unit with perspective.
Cezanne was one artist who played with perspective in his still life paintings. He caused the viewer to move throughout his work by creating various points.

Cezanne's Cherries and Peaches
There are different types of perspectives in drawing. One Pt., two pt. three pt. (to name a few), but one point is the easiest to start with.

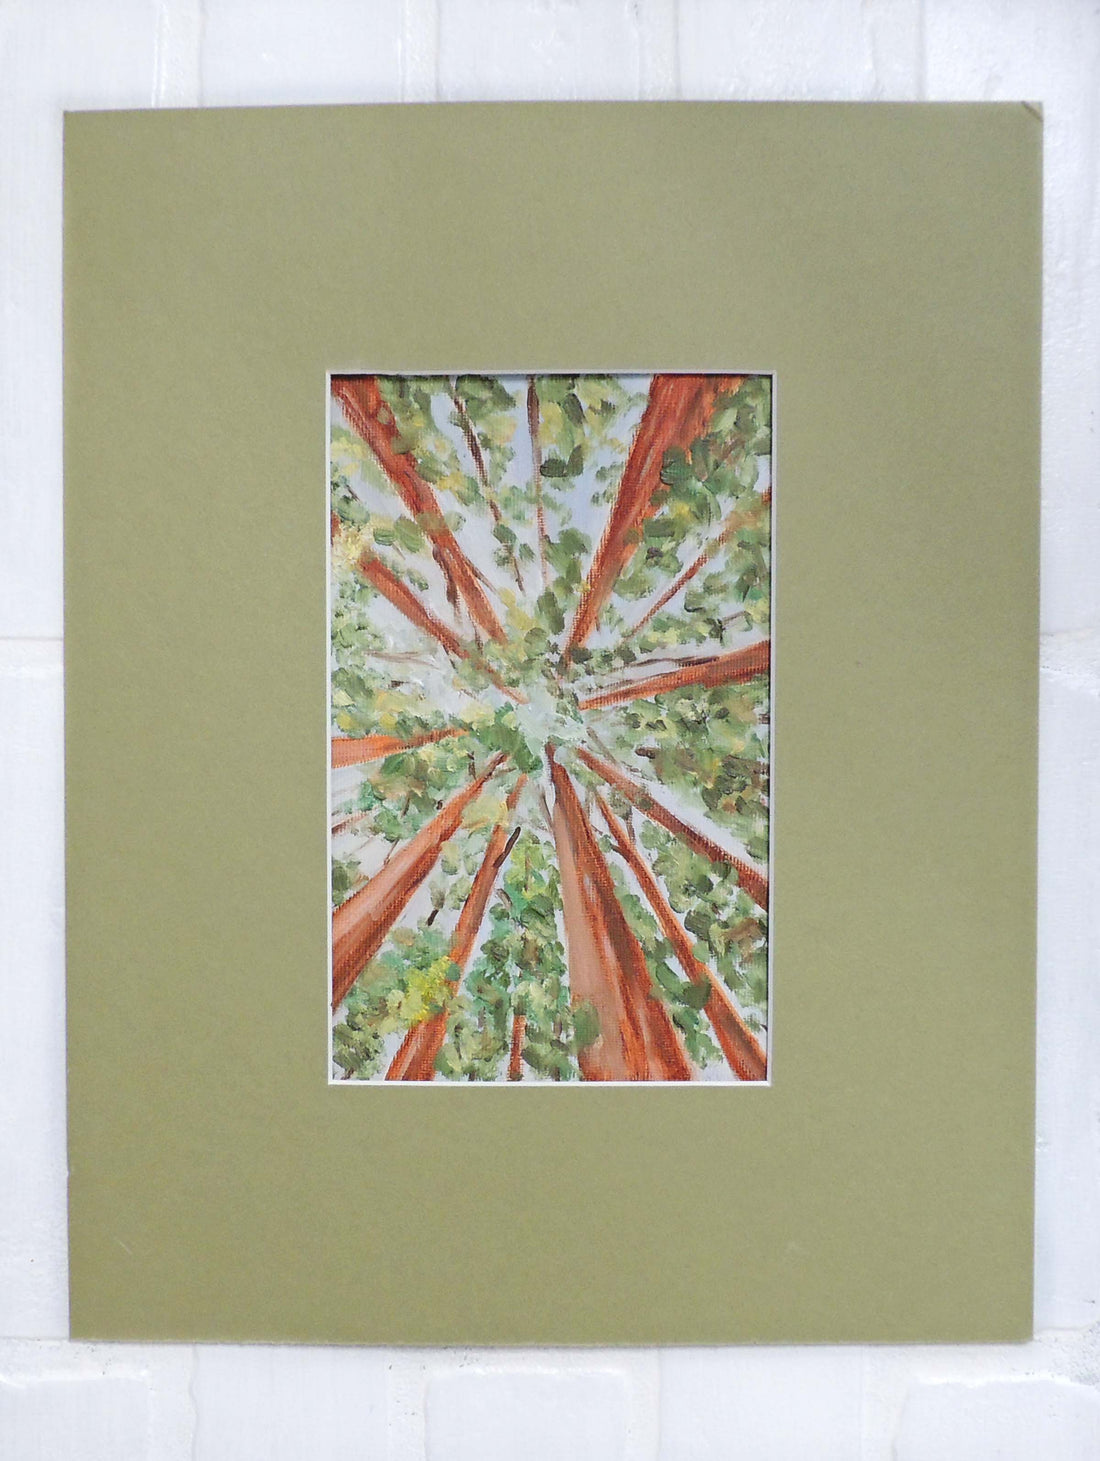
In this lesson we will create a painting of trees using one pt. perspective that will create the feeling of standing in a forest looking up at the treetops.
What you need:
- Canvas paper or mixed media paper 8x10 or 9x6 works well.
- Pencil
- Ruler
- Eraser
- Child friendly paint or for adults, Acrylic paint
- Small and medium brushes (depends on your canvas / paper size.
- Water for cleaning brush
- Paper towel
- Smock or covering to protect clothes
- Old towel or plastic to cover workspace
- Place a dot anywhere on your paper. This will be your vanishing point.

- Using your ruler draw a line from your Vanishing point (VP) to the edge of your paper. Draw another line the same way to create the other side of your tree. Repeat this all around the point (sides, top, and bottom of your paper). Variety adds interest so make the trees different thickness and heights.

- Paint your sky around your trees, and then paint the tree trunks. You can add a touch of white and yellow to paint light in the sky.


- Add detail to your trees by using lighter and darker shades of the tree trunk color.

- Add the leaves to your trees by using a dark blue green, medium green, and yellow green.


Tip: you can let your child use a cotton swab and make dots for the leaves. The leaves/ dots will get smaller the higher you place them on the tree.
- Use your brown and a thin brush to create small limbs in the trees.

- Sign your painting.
- Allow to dry before displaying.
Click the link below to watch my video demonstration before starting your project.
I love sharing lessons that can be fun for everybody, and this one is great for any age who wants to learn to paint. The outcome can be as realistic or as abstract as you want to make it. Be creative, use your imagination, and most of all have fun.
If you try this lesson, I would be so happy if you could share your painting with me. Tag me in your photo on Instagram or Facebook.
Happy Painting!
Check out some of our other favorite lesson ideas:

4 comments
Nuria,
I’m so happy to hear the lesson was a good experience for you. Thank you for taking time to share your thoughts with me.
-Beverly
Kimberly, Yes you can use watercolor paper as well as watercolor paints for this project. If you want to use watercolor paper with acrylic paint, I would recommend using a gesso to seal the paper. I would love to hear how the lesson goes and celebrate your creation with you.
Can you use watercolor paper for this activity? I have washable paint and acrylics, but only water color paper at school. Limited Budget! :D
Great lesson…Thank You!
THANK YOU VERY MUCH INDEED! IT HAS BEEN A WONDERFUL LESSON!