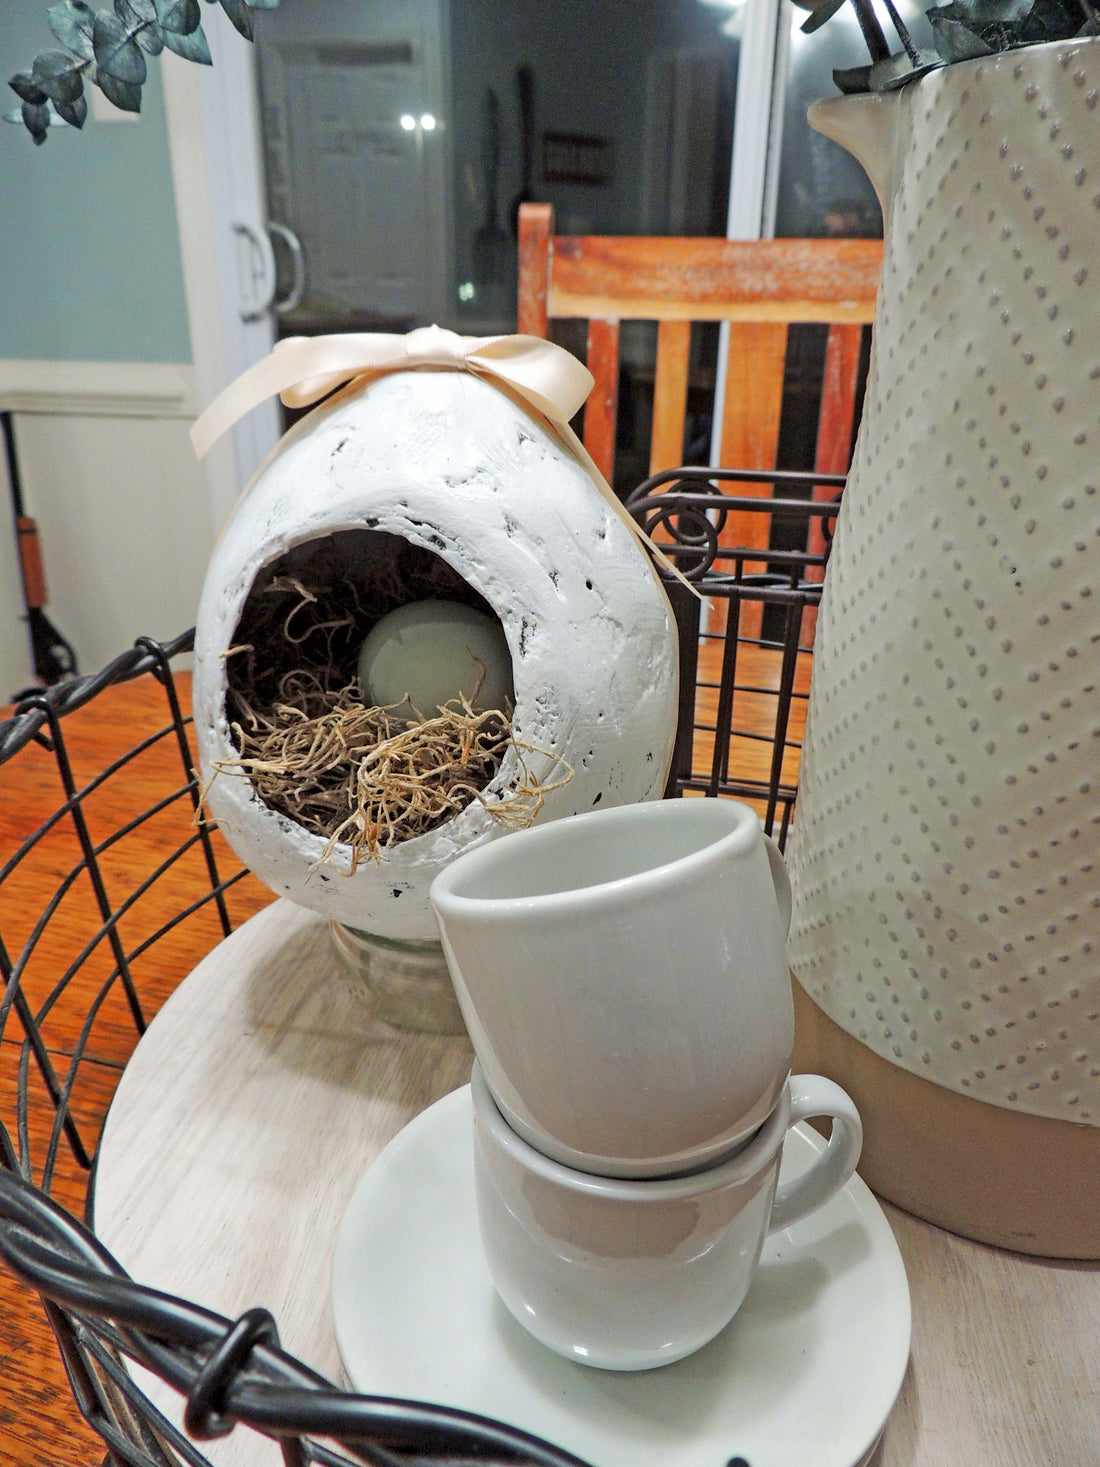
Paper Mache Easter Egg Art Lesson for Kids
Share
Does your kiddos like to get messy? Well, I got a lesson just for them because this paper mache Easter lesson will be a little messy (ok a lot messy) and gooey, but they will love it!!!
I spent all last week prepping for another art lesson to share with you and your mini artists to do this week, and it’s perfect timing for Easter. This one has been a little tricky for me because it was my first time since elementary school that I have attempted paper mache. It took some trial-and-error learning what to do and what not to do. I will first give you the step by step of what I did to create my egg and then share with you some tips on how I would change things to make it easier or more child friendly. If you are feeling up to the challenge, then you can follow the original instructions.

Materials needed:
- Newspaper cut into strips
- Scissors
- Elmers Glue
- Water
- Balloon
- Plastic bag or old towel to cover your work space
- Plaster Paris
- Plastic Knife
- Sand paper
- Paint
- old containers for mixing glue and/or plaster

Cut your newspaper into strips. I cut mine long, but then found it easier to work with smaller strips. I ended up tearing them smaller.

Mix one part of Elmers Glue with one part water until well mixed.


Blow up and tie off a balloon. I only had a small balloon on hand, but a larger one might work best depending on how you want to use the finished project.


Dip the newspaper into the glue mixture to completely cover. Begin to wrap the balloon with the newspaper strip. Repeat until completely covered.

Hang and let dry completely. I rigged up a clothespin, rubber band, and coat hanger to hang mine. Not too pretty, but it did the trick.
Once the layer is dry repeat the process with a second layer of newspaper.
I stopped after two layers of newspaper, but then realized it may not have been enough layers to make it sturdy. My solution was to cover the balloon with plaster paris.


I marked where I wanted the cut out to be. Then mixed the plaster with water until it was the consistency of peanut butter. Use an old knife (I used plastic knife) to spread the plaster being careful to not cover the area you have marked for your cut out. If your plaster starts to thicken and harden, add more water a little at a time until your reach the same consistency as when you started.

You will have to work in sections in order to allow the plaster to dry to the touch so don’t mix too much plaster at a time because there is no saving it. Trust me…I tried.


If the process thus far hasn't been fun enough, then hang in there because I'm not done. Time to style your egg.
You can either use the egg to hold your Easter treats on Easter morning, or add it to your Easter decorations. A centerpiece for your table or in a cute vignette on a foyer table or shelf.


Tips to make this more kids friendly.
1. Use smaller pieces of newspaper because it is less messy and easier to work with.
2. Skip the plaster. Put 4 to 5 layers of newspaper dipped in the glue onto the balloon.
3. Skip the paint. Use a designed paper like scrapbook paper and decoupage it onto the egg using the same 1 to 1 mixture of glue and water.
4. If you want to use the egg as an Easter basket, go with a large balloon. The balloon I used could only hold three chocolate eggs. I was sad that my chocolate bunny wouldn't fit in this egg.
5. Lastly, cut the hole bigger. I feel like my egg would look much better with a larger cut out.
This is a fun project, but takes patience and time. I suggest breaking it down into three days like so...
Day 1. Add first two layers of newspaper. Hang to dry over night.
Day 2. Add last two layers of newspaper and decorative paper. Allow to dry over night.
Day 3. Paint (if not using decorative paper), dry, style.
As always, don't forget to tag me on Instagram or Facebook if you and your kiddos give this project a try.
Happy Creating and Happy Easter!
