Varnish: The Unsung Hero of Your Art Masterpiece!
Share
Hey there, art enthusiasts and painting pals! It's your friendly artist and candle maker, Beverly, here to spill (not paint) some secrets on varnishing your oil paintings with Gamvar varnish. Let's dive into this shiny adventure together!
*disclosure* - this is not an affiliate post however I have added some links to some of the materials mentioned to help you easily access them.
But first, Why Varnishing is Important.
Ah, varnishing – the unsung hero of the art world! Imagine spending hours creating a stunning oil painting, only to skip the varnish step. It's like baking a perfect cake but forgetting the icing. Sure, it's still delicious, but it lacks that glossy, mouthwatering finish. Varnishing not only adds a lustrous shine but also protects your artwork from dust, dirt, and those accidental coffee spills (we've all been there). So, folks, don't let your precious paintings go au naturel; give them the varnish treatment they deserve!
Suggested Materials:
- Gamvar Varnish (I like the original gloss, but they also have other finishes)
- Sponge brushes
- Plastic bowl
- Lint roller (to remove hairs and dust)
- Tape (to protect sides of canvas if not varnishing them)

1. Patience is a Virtue, Darling!
Before you embark on your varnishing voyage, make sure your artwork is dry to the touch. We're artists, not time travelers, so patience is key here. You wouldn't want a sticky mess, would you?
2. Pouring Drama-Alert!
Picture this: You're about to add that glossy goodness to your artwork like those satisfying varnishing videos on social media, but hold on! Don't pour it directly on the canvas. That's like using a fire hose to water your plants. Pour it into a container and keep it real, then apply it lightly with your brush. You will regret adding too much varnish like a third trip through the buffet line.
3. Brush It Real Good!
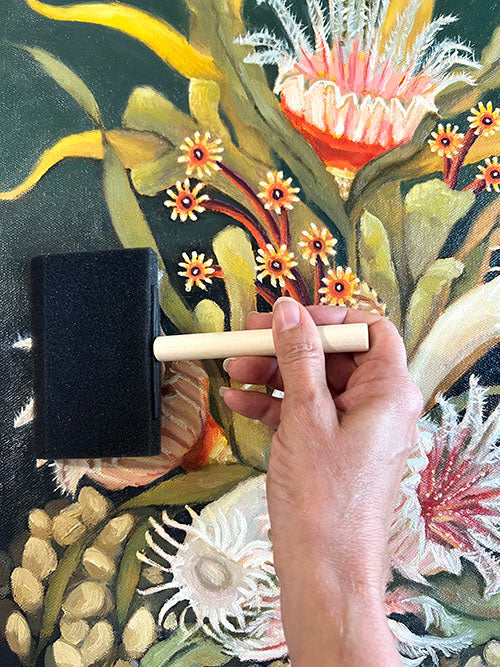
Speaking of brushes, choose a soft bristle brush or even a sponge brush. But here's the catch: if you're team sponge, it's a one-time affair. Yep, toss it out after each use. Sponge drama, solved!

4. Dance Moves: Vertical & Horizontal
Imagine you're dancing with your canvas. Shimmy in vertical and then give it a little cha-cha horizontally. This dance routine ensures your varnish spreads evenly and doesn't miss a step.
5. Let There Be Light (and Drama)
Position your painting so that the light hits it just right. Why? Because this trick helps you spot any missed spots, and your varnish will shine brighter than a 1970's disco ball.
6. Time Is of the Essence!
Once you've applied that Gamvar varnish, the clock is ticking! It tends to get tacky quickly, so hands off after 15 minutes. We don't want fingerprints in your masterpiece.

There you have it, my fellow art aficionados! Varnishing doesn't have to be a sticky situation. Follow these tips, and you'll have a glossy, professional-looking painting that's ready to dazzle. Keep creating, keep shining, and let your art bring joy and beauty to the world!
