Tessellations - Art Lesson for kids part 2
Share
I have patterns on my mind this week as I work on a special project that I will tell you more about once it comes together., so I thought I would continue the pattern theme with this new art lesson on Tessellations. If you are a math nerd (which I am far from) you will like this for more than just creating fun art, and I bet you can really come up with more intricate designs.

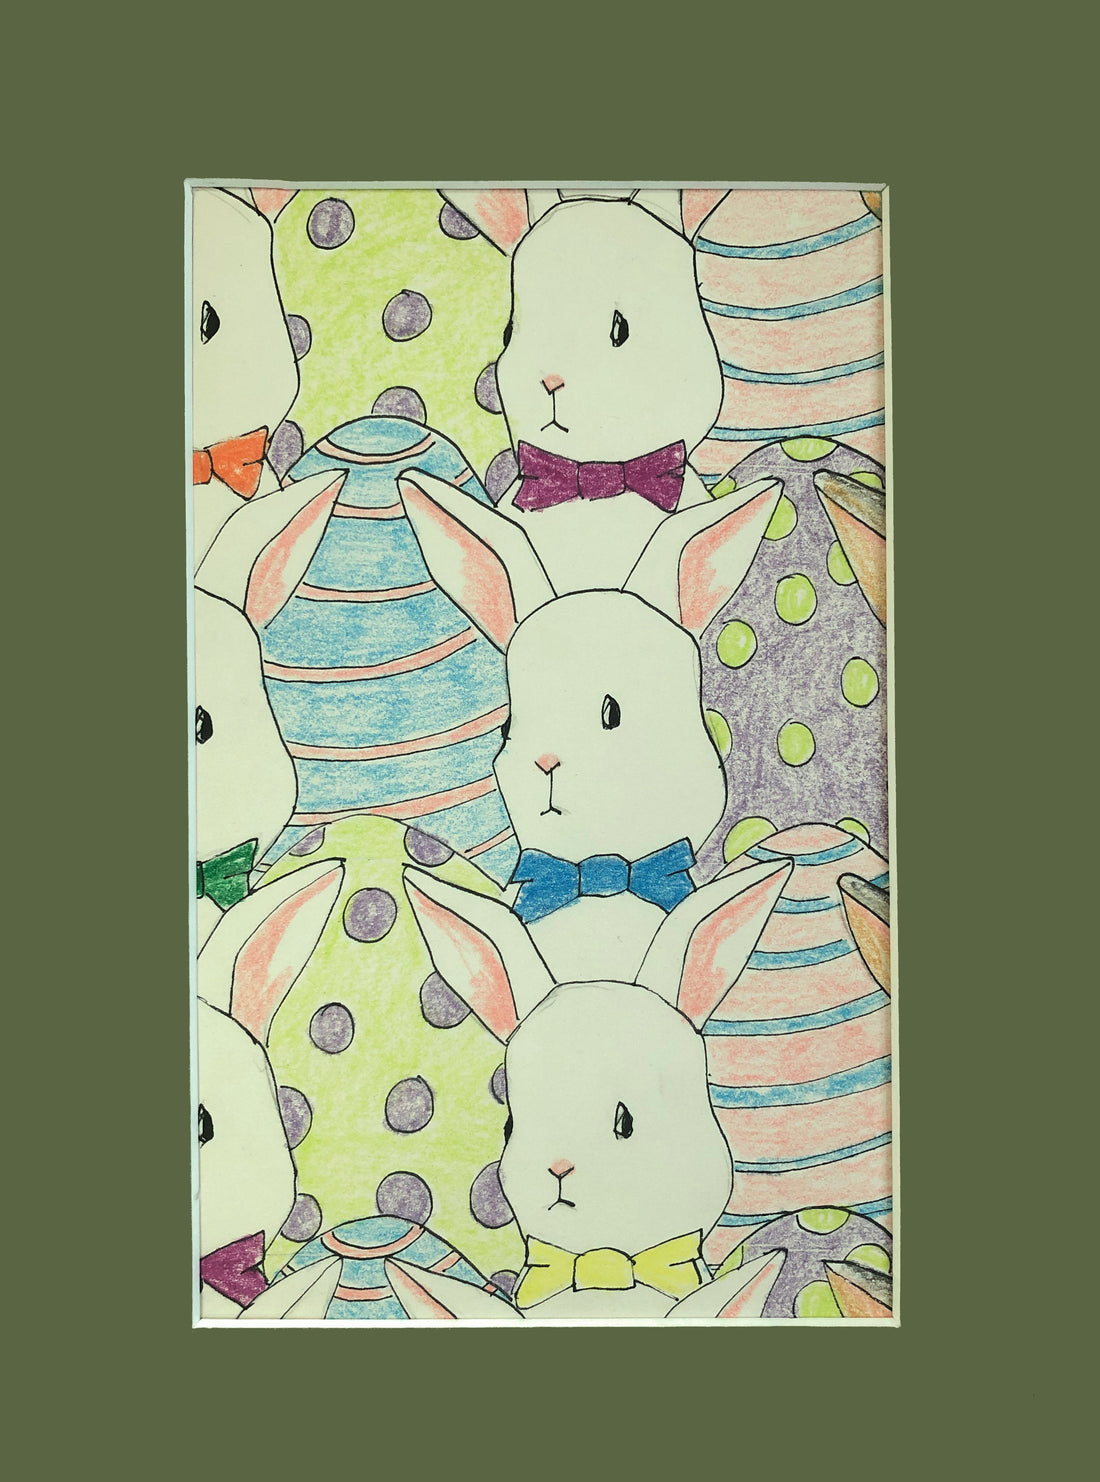
I have this small bunny painting sitting on my desk waiting to be finished, and as I sat thinking of the perfect design to create, he inspired me. An Easter / Spring theme would give you a fun holiday art project to do with your kids this weekend especially since our regularly scheduled Easter festivities are limited this year. If you already have a full weekend of plans, don't worry because this lesson can be used anytime, and the design options are limitless.
I'm going to first show you how I created this design, and then include a link to the full tutorial I shared here on the blog in 2017.
Supplies:
Cardstock (for template)
Drawing paper
pencil and eraser
Scissors
Tape
Sharpe marker for outlining
Color pencils or markers

Step 1: Creating your template

Cut a 3"x 3" square from cardstock and use a pencil to sketch your bunny. Make sure to sketch edge to edge as in the above picture.
Cut the right side of the square (dark line on image) and attach it with tape to the left side of the square. Make sure the two straight edges line up.
Cut the top of the square dark line on image) and attach it with tape to the bottom of the square. Make sure the two straight edges line up. (See image below)

Use your pencil to sketch your bunny on your template. This will give you something to reference later when completing your design.
Step 2: Trace your template onto your drawing paper.

Using the template you just created, trace onto your drawing paper. I like to start in the center and then repeat on all sides until I fill the page completely. There will be negative space between the bunnies. This is where you get creative. After thinking about it for a couple of minutes, I came up with the idea of Easter Eggs. I just drew a curve line just above the bunny's ears.
Use your pencil to add details to your shapes (this is where your sketch on your template comes in handy), and then trace over the drawing with your fine point sharpe / marker.

Step 3: Color your tessellation.
For this particular lesson, I prefer color pencil, but markers work as well (or crayons for young children). I always suggest to the children to color in one direction or in small circles to help with even coloring.

I colored the bunnies on half of the page and left them white for the other half. I liked the white bunnies better because it created more contrast making them stand out.
Art Objectives:
Line, Shape, pattern, variety, color.
Artist: MC Escher and his tessellations.
As promised, I am including the link to my original blog post on Tessellations for a more in depth tutorial as well as examples of other creative designs. Including in that lesson is also linked information on the artist MC Escher.
As always, if you do this lesson with your kiddos or just for yourself, comment below and let me know how it went. Also, if you are on instagram, tag me in a photo of your's or your child's finished drawing, and I will feature it in my stories.
Remember... art is a process so don't worry so much about the product but rather the experience. I can't wait to hear how it went. Happy Creating!!!
